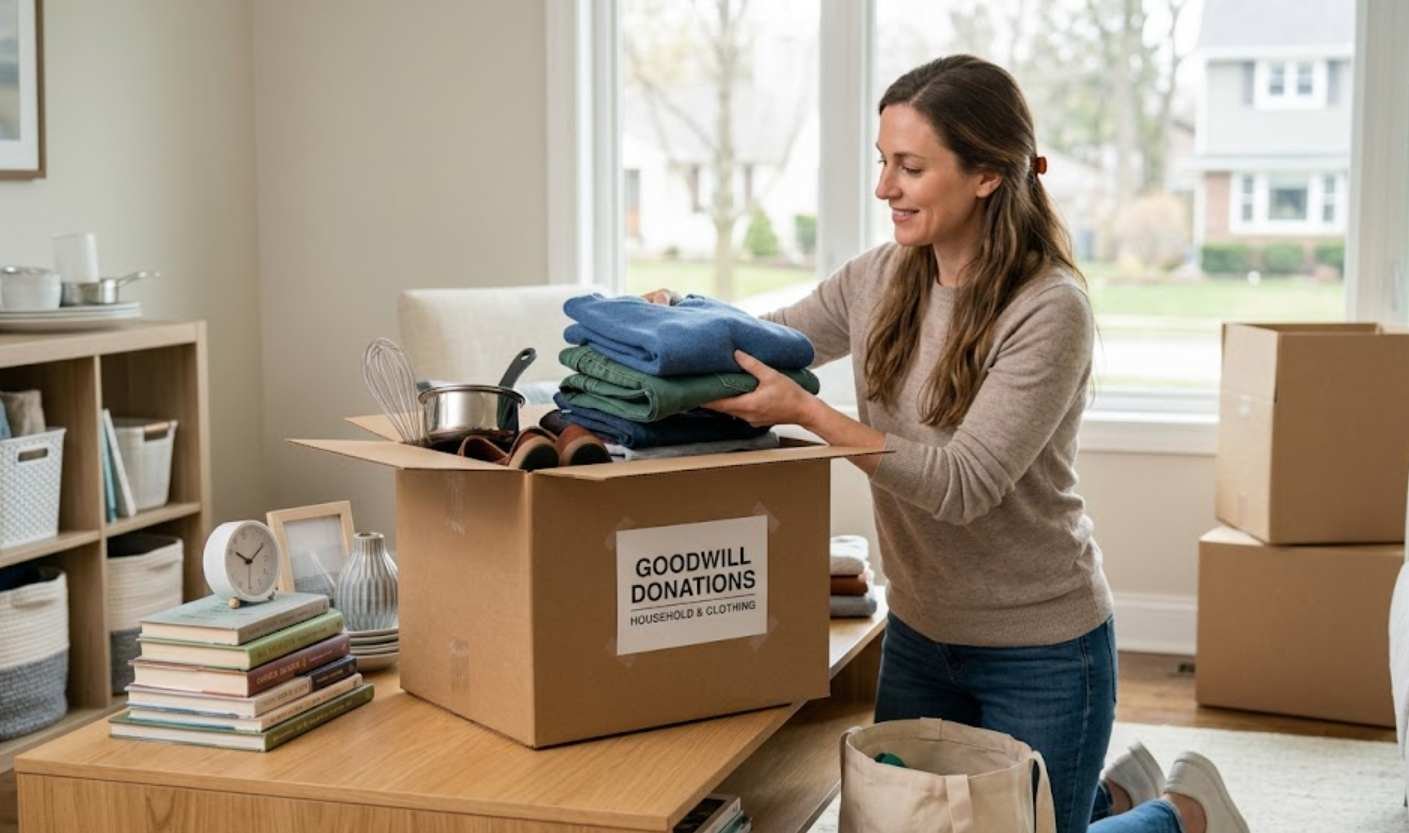
Donating to Goodwill is a simple way to give unwanted items a second life while helping support community programs and employment opportunities. But before loading everything into your car, it is worth taking a few minutes to prepare your donations properly.
If you are wondering how to prepare items for Goodwill donation, the basic process is straightforward: sort your belongings, check their condition, clean what you can, protect fragile items, and make sure nothing personal is left behind. A little preparation can make the drop-off easier and help ensure your items are ready for their next owner.
Start by Sorting What You Want to Donate
The first step is to go through your belongings and decide what you are genuinely ready to give away. Avoid treating the donation box as a place for things that are simply broken or unusable.
Create separate groups for clothing, books, kitchenware, electronics, home goods, and other items. Sorting everything before you pack it makes the final drop-off much quicker.
If you are new to donating, it can also help to understand how Goodwill donations work before you start. This gives you a better idea of what happens to donated goods after they leave your home.
Check the Condition of Every Item
Goodwill donations should generally be clean and in usable condition. Before packing an item, ask yourself whether another person could realistically use it.
Look for Damage
Check clothing for major stains, tears, missing buttons, or excessive wear. For household items, look for cracks, chips, broken handles, or missing parts.
You do not need to make every item look brand new, but obvious damage should be a reason to reconsider whether it belongs in a donation box.
Make Sure Items Work
Electronics, appliances, toys, and other functional items should be tested before donating. If something requires batteries, a charger, or another essential component, include it whenever possible.
For games and puzzles, check that the important pieces are still included. Complete sets are much more useful than boxes containing only part of a product.
Clean Items Before Packing Them
A quick cleaning can make a significant difference. Wash donated clothing and allow it to dry completely before placing it in a bag. Wipe down furniture, kitchen items, toys, and other hard surfaces to remove dust or visible dirt.
You do not need to spend hours deep-cleaning everything. The goal is simply to donate items in a reasonably clean and presentable condition.
Shoes can be wiped down, books can be dusted, and kitchenware can be washed before packing. These small steps make your donation more useful and easier for staff to handle.
Check Pockets, Drawers, and Compartments
One of the easiest things to overlook is personal property.
Before donating pants, jackets, handbags, backpacks, suitcases, desks, or other storage items, check every pocket, drawer, and compartment.
Look for:
- Cash and coins
- Identification cards
- Credit or debit cards
- Keys
- Receipts
- Personal notes
- Small electronics
- Important documents
This is especially important when clearing out several rooms at once. Taking an extra minute to inspect each item can prevent an unpleasant surprise later.
Prepare Electronics Carefully
Electronics require a little more attention because they may contain personal information.
Before donating a computer, phone, tablet, hard drive, or similar device, back up anything you want to keep and perform a proper factory reset or secure data removal process.
Make sure you understand what is being erased before resetting the device. If a computer contains sensitive files, simply deleting a few documents may not be enough.
Remove personal accounts and passwords where appropriate, and include compatible chargers or accessories if you still have them.
Keep Sets and Matching Items Together
Whenever possible, keep related items together.
For example, pair shoes together, keep a remote control with its television or device, and place the pieces of a board game in the same box. If an item has several parts, securing those pieces together can prevent them from becoming separated during transportation.
For small components, use a sealed bag and place it inside the main package. This simple habit can save time and make the donation much easier to sort.
Pack Donations in Practical Containers
Once everything is clean and checked, choose sturdy bags or boxes that are easy to carry.
Clothing can usually go into strong bags, while books and heavier household goods are better suited to smaller boxes. Avoid making boxes so heavy that they are difficult to lift safely.
If you are donating several types of goods, grouping similar items together can make unloading easier.
Protect Fragile Items
Wrap glassware, ceramics, picture frames, and other breakable goods individually using newspaper, packing paper, or another suitable protective material.
Place heavier items at the bottom of the box and lighter pieces above them. Do not leave empty space where items can move around and break during transportation.
Marking a box “Fragile” can also help communicate that it needs extra care.
Check Your Local Donation Guidelines
Not every Goodwill location accepts exactly the same types of donations. Policies can vary by organization and location, so checking before you leave can save you an unnecessary trip.
It is also useful to know the location’s donation schedule. For example, you can check what time Goodwill stops taking donations before heading out.
If you are planning your donation around a weekend, you may also want to check whether Goodwill is open on Saturday or whether Goodwill is open on Sunday.
Plan Your Drop-Off
After everything is prepared, place the donations somewhere they can be loaded easily without damaging your vehicle or the items themselves.
Most donation centers have a designated receiving area. Follow the signs when you arrive and speak with the donation attendant if you are unsure where to go.
If you are donating furniture or large items, check ahead to see whether your location has specific procedures for accepting them.
Choose a Convenient Time
Donation hours can sometimes differ from regular store hours. If you are unsure when to visit, check Goodwill donation hours before leaving home.
You can also review when Goodwill closes and what time Goodwill opens to avoid arriving outside operating hours.
Holiday schedules can be different as well, so it is worth checking before making a special trip. For example, you can find information about Goodwill hours on Memorial Day and Goodwill hours on New Year’s Day.
Ask for a Donation Receipt
If you plan to claim eligible donations as a charitable contribution for tax purposes, ask the donation attendant for a receipt at the time of your drop-off.
Keep the receipt with your records and follow the applicable tax rules for documenting charitable donations. If you are unsure about valuation or tax requirements, consider speaking with a qualified tax professional.
What Should You Avoid Donating?
Preparing donations also means knowing when something should not go into the donation pile.
Do not use Goodwill as a way to get rid of items that are heavily damaged, unsafe, contaminated, or otherwise unsuitable for reuse. Certain products may also have location-specific restrictions.
If you are uncertain about an unusual item, check with your local Goodwill organization before bringing it to the donation center.
A Simple Pre-Donation Checklist
Before leaving home, take one final look through everything.
- Make sure clothing is clean and dry.
- Check that donated goods are usable and reasonably intact.
- Look through every pocket, drawer, and compartment.
- Confirm that sets and pairs are complete.
- Remove personal information from electronics.
- Wrap fragile items securely.
- Keep similar items together.
- Use sturdy bags or manageable boxes.
- Check your local donation guidelines.
- Confirm the donation center’s hours.
- Request a receipt if you need one for your records.
Make Your Goodwill Donation Easier
Knowing how to prepare items for Goodwill donation does not require a complicated process. The most important things are to donate usable items, clean them before packing, check carefully for personal belongings, and organize everything so it can be handled easily.
Taking a little extra time before the trip can make the experience smoother for you and the donation center. More importantly, it gives your unwanted belongings a better chance of being useful to someone else instead of simply taking up space in your home.
A thoughtful donation starts before you reach the drop-off area. Sort carefully, prepare responsibly, check the local guidelines, and your next Goodwill donation can be a simple and worthwhile experience.