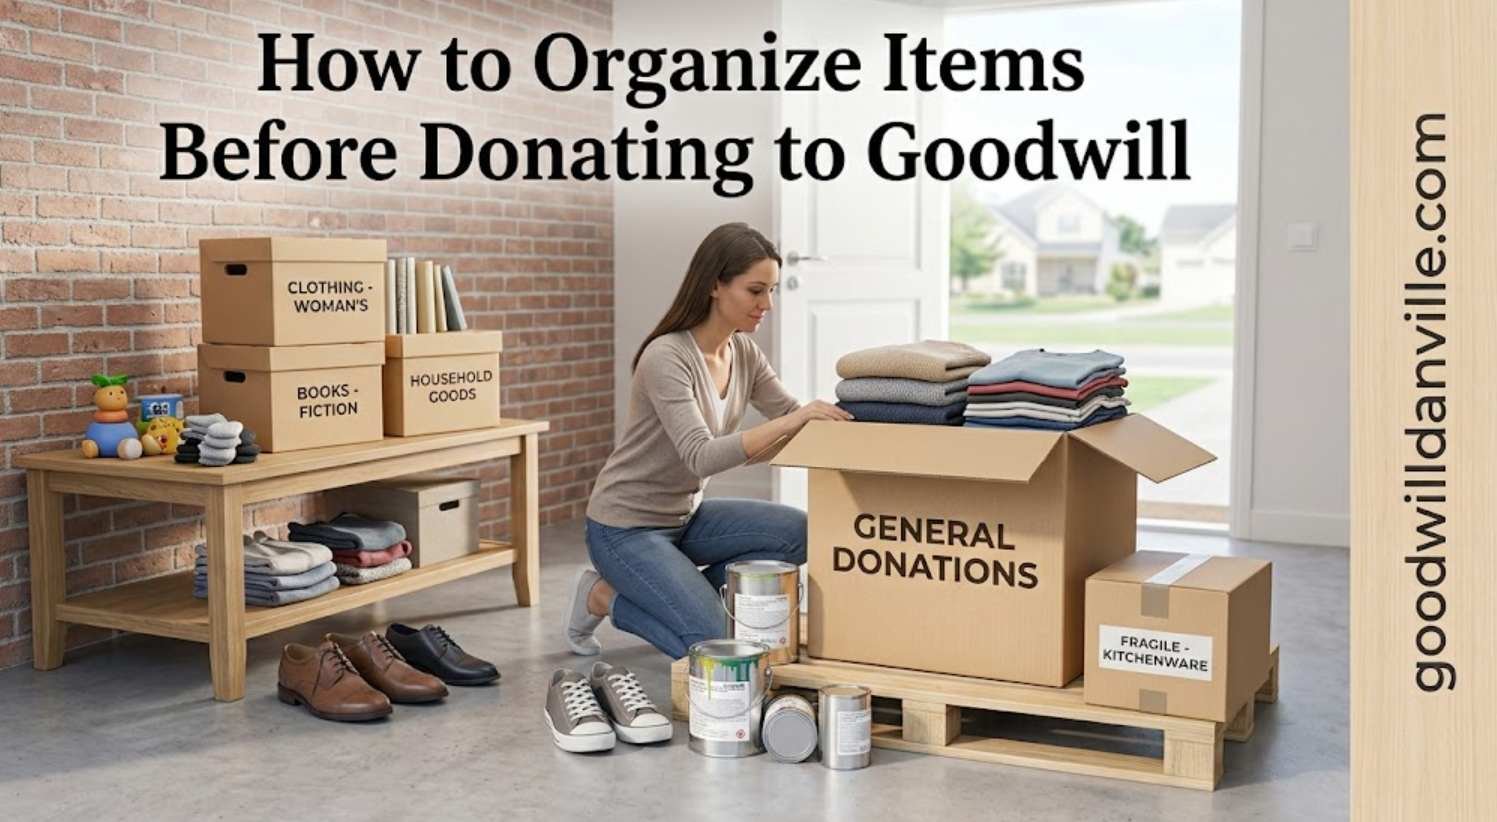
Donating unwanted belongings can free up space in your home and give useful items a second life. But putting everything into random bags and taking it straight to a donation center can make the process harder than it needs to be.
Learning how to organize items before donating to Goodwill helps you save time, protect fragile belongings, avoid bringing unacceptable items, and make your drop-off much smoother. You do not need an elaborate system. A few boxes, basic cleaning supplies, and a simple sorting method are usually enough.
This practical guide walks you through the process from the first closet clean-out to the final donation drop-off.
Start With Four Simple Sorting Groups
Before washing, boxing, or loading anything into your car, create four separate groups:
- Donate
- Keep
- Recycle
- Throw away
Try not to create a large “decide later” pile. It usually makes the job take much longer.
As you sort, ask one practical question:
Would another person reasonably want to use this item in its current condition?
A shirt with normal signs of use may still be perfectly suitable for donation. A shirt that is wet, badly torn, moldy, or heavily stained probably is not.
It is also worth reviewing things you should not donate to Goodwill before packing everything. Acceptance policies can vary, and removing unsuitable items at home can prevent an unnecessary trip.
Organize Donation Items by Category
Once you know what you want to donate, separate similar items.
Clothing and Shoes
Place clothing together instead of mixing it with books, kitchenware, or electronics.
Before packing clothes:
- Check pockets
- Remove personal documents
- Wash dirty garments
- Make sure clothing is completely dry
- Pair matching shoes together
Shoes can easily become separated during transportation, so tie their laces together or secure each pair with a rubber band.
If this is your first donation, you may also find this broader guide on how to prepare items for Goodwill donation useful before you start packing.
Books, Toys, and Small Household Goods
Keep books in smaller boxes because large boxes can become surprisingly heavy.
For toys, check that loose pieces are included whenever possible. Small kitchen goods, decorations, and household accessories can be grouped together, but avoid putting heavy objects on top of delicate ones.
Electronics
Keep cords, chargers, remotes, and accessories with the device they belong to.
For example, if you are donating a small stereo, place its power cord in the same box rather than packing it separately. This makes the item much easier to identify and handle.
Because acceptance rules can differ between locations, check whether your local center accepts the specific electronic item before making the trip.
Clean Items Before Packing Them
Donated items do not have to look brand new, but basic cleaning is helpful.
Wash clothing when necessary. Wipe dust from household items. Remove crumbs or residue from storage containers. Clean shoes if they are muddy.
Furniture should also be reasonably clean before donation.
You do not need to spend hours restoring every item. The goal is simply to donate belongings in a condition that another person could realistically use.
If you are unfamiliar with the full process, reading how Goodwill donation works can help you understand what to expect from preparation through drop-off.
Use Safe, Easy-to-Handle Containers
Cardboard boxes are often one of the easiest options for organizing donations.
Reusable shopping bags can work for clothing, but avoid weak or overloaded bags that could tear while being carried.
Whenever possible, use containers you do not need returned.
Protect Fragile Donations
Glassware, dishes, ceramics, and decorations need a little extra attention.
Wrap individual pieces with:
- Packing paper
- Newspaper
- Bubble wrap
- Clean reusable wrapping material
Fill empty space inside the box so the contents do not move around excessively.
Write FRAGILE on the outside in large, visible letters.
Use This Quick Donation Organization System
Here is a simple visual workflow you can follow:
SORT → CHECK → CLEAN → GROUP → PACK → LABEL → VERIFY HOURS → DONATE
1. Sort
Separate usable items from belongings you are keeping, recycling, or discarding.
2. Check
Inspect items for major damage, moisture, stains, missing pieces, or safety concerns.
3. Clean
Wash clothing and wipe down household goods.
4. Group
Keep clothing, books, shoes, toys, electronics, and fragile goods in separate categories.
5. Pack
Use sturdy boxes or bags that can be carried safely.
6. Label
Mark boxes containing fragile goods or specific categories.
7. Verify
Confirm that the location accepts your items and check its current donation schedule.
8. Donate
Load the vehicle in an organized order and take the items to the donation area.
This method is especially helpful when you are clearing multiple rooms at once.
Check Donation Hours Before Leaving Home
Donation hours are not always identical to store shopping hours.
Before loading your vehicle, check what time Goodwill stops taking donations and whether Goodwill has different donation hours.
If you are planning an early trip, it may also help to confirm what time Goodwill opens and when Goodwill closes.
Weekend schedules can be especially important. Check whether Goodwill is open on Saturday or Goodwill is open on Sunday before heading out.
Holiday schedules may change as well. For example, you may want to confirm whether Goodwill is open on New Year’s Day before planning a holiday donation run.
Make a Simple Donation Inventory
If you are donating several items, write down a quick list before leaving home.
For example:
- 8 shirts
- 3 pairs of jeans
- 2 jackets
- 6 books
- 1 lamp
- 4 kitchen items
A basic inventory helps you stay organized and can also be useful if you request documentation related to your donation.
Avoid relying on memory after unloading multiple bags and boxes.
Load Your Vehicle in the Right Order
The way you pack your car can make unloading much easier.
Put sturdy and heavy boxes on the bottom. Keep delicate items where they will not be crushed. Clothing bags can usually go on top.
If possible, keep donations separate from personal belongings that are staying in the car. This reduces the chance of accidentally giving away something you intended to keep.
For larger donation trips, load similar categories together so you know exactly what is in each section of your vehicle.
What Happens After You Donate?
Many donors wonder where their belongings go after drop-off.
The exact process depends on the organization and location, but donated goods may generally be sorted, evaluated, and prepared for resale or another appropriate next step.
You can learn more about what happens to items donated to Goodwill if you want to understand the journey after your boxes leave your hands.
Final Donation Checklist
Before leaving home, quickly confirm:
- Items are reasonably clean
- Clothes and textiles are dry
- Shoes are paired
- Fragile items are wrapped
- Boxes are not dangerously heavy
- Personal information has been removed
- Non-acceptable items have been separated
- Donation hours have been checked
- Your inventory is ready if needed
Conclusion
Understanding how to organize items before donating to Goodwill does not require a complicated decluttering system. The most effective approach is to sort carefully, remove damaged or unacceptable belongings, clean usable items, group similar donations together, and pack everything securely.
Taking a few extra minutes at home can make the donation process easier for you and for the people handling your items after drop-off.
A simple rule works well: donate items in the condition and organization you would appreciate receiving them yourself.